Documentation
Adventure Theme
General Setup
Please Note: As of Adventure Theme version 2.0+, the theme options are located in the Appearance > Customize section. The options are no longer located in the Appearance > Theme Options section with the latest version of the theme.
FTP upload: download and un-zip your theme folder, and using the FTP program of your choice upload the theme folder to the ‘../wp-content/themes/’ folder on your server.
WordPress dashboard: download your theme and sign into your WordPress dashboard (e.g., yourdomain.com/wp-admin). Navigate to Appearance > Themes > Add New > Upload, and select your zipped theme folder, click “Install Now”. Once the theme is uploaded you will need to activate it, either with the provided link or under Appearance > Themes.
Note: If you use Safari as your primary browser you may find that your theme folder is not zipped after downloading it. You will need to re-compress your theme folder before initiating the second installation process.
A theme license is what allows you to have access to ongoing theme updates. By applying the theme license, you will see automatic notifications for all future theme updates in the Appearance > Themes section of the dashboard – this makes updating the theme very easy! If you have not yet applied a license key to your site, please do so by logging into your www.organicthemes.com account and navigate to the Account > Licenses page in order to retreive the theme license. Copy the license key and apply it within the WordPress dashboard section under Appearance > Theme License. Paste the license key in the license field, and click the “Save Changes” and then “Activate License” buttons.
The contact form in our demo is powered by Gravity Forms, an excellent premium WordPress contact form plugin. There are also may free alternatives, such as ‘Contact Form 7’ and ‘Jetpack Forms’. Our themes are compatible with most form plugins.
If you want to make use of the shop portion of the theme you will need to install WooCommerce. Please see WooCommerce documentation for help with using WooCommerce: http://docs.woothemes.com/documentation/plugins/woocommerce/
- Install and activate the One Click Demo Import plugin.
- Make sure all required plugins are active.
- Navigate to Appearance > Import Demo Data within the WordPress admin.
- Click the blue “Import” button for the Default Demo Import.
- Wait for the import to complete. It may take a few minutes.
- Begin editing.
Note: All content, widgets and Customizer options will be imported from the theme demo. Importing demo data will add to any existing content you have already created. Deleting the demo content must be done manually.
Logo: 2400x720px
Featured Image Large: 2400x1200px
Featured Image Medium: 980x720px
Featured Image Small: 320x320px
Featured Image Square: 640x640px
A Header image can be set under Appearance > Header within the dashboard. You can add a single header image throughout the site, or set multiple header images that randomly change by selecting the “Randomize Header Image” option. The Header image will display on most pages, including the Blog page, unless a Featured Image page template has otherwise been applied (see Page Templates section below).
You can setup and manage your social menu under Appearance > Menus, in your WordPress dashboard. By default, this theme displays the social media menu within the footer, as well as within the profile section on the homepage (see “Profile” tab below). Please see the “Social Menu” section in our “WordPress Custom Menu” tutorial for detailed instructions on how to setup a social menu on your site.
The Adventure Theme includes a few different widget area options:
- Page Sidebar – displays widgets in a right sidebar on pages with the “Default” page template applied.
- Blog Sidebar – displays widgets within a right sidebar on only the blog page only.
- Post Sidebar – displays widgets within a right sidebar on posts only.
- Left Sidebar – displays widgets within a left sidebar on your homepage.
- Home Widgets – displays widgets on the page with “Home” template applied. This is an alternative way to build a homepage (aside from the default homepage with left sidebar widgets). To use the Home Widgets on your homepage, you will need to first install the Organic Builder Widgets plugin. This method allows you to add Organic Widgets while using the “Home” page template on the homepage. View an example here.
- Footer Widgets – displays a section of widgets at the bottom of your page (between page content and footer).
- Shop Sidebar – displays widgets in a right sidebar on the shop page only.
Widgets can be added within the Appearance > Widgets section of the dashboard. Simply drag and drop widgets from the left side into the respective widget area tabs on the right. If no widgets are added, then no sidebar or widget area with display.
Homepage Setup
You can display a profile section on the homepage, as seen in the demo. Profile information is added within the Appearance > Customize > Theme Options > Home Page section in the customizer. The image on the left is the Profile Image set within this section. Add a Profile Title, and Profile Content text in the additional fields. Check the box that says “Display Home Profile Section“. If you do not wish to display a profile section on your homepage, leave the “Display Home Profile Section” box unchecked.
To configure the section with social media icons, navigate to Appearance > Menus and create a new menu with custom links to your social profiles. Then, make sure the new menu is displayed in the “Social Menu” location (see “Social Menu” section above for further details).
Page Templates
This template allows you to display a collection of posts, and can be “filterable” by category. The images displayed on the Portfolio page are the Featured Images applied to those posts. Under Theme Options > Page Templates in the customizer, you can set the post category to display (under the “Portfolio Template Parent Category” drop-down menu), and also set portfolio column layout number. View an example of a Portfolio page here.
If you wish to use the “filterable” portfolio feature as seen in the demo’s example page, you will need to assign sub-categories to posts under a parent category. Categories and sub-categories can be set within the dashboard, under Posts > Categories. For more information on parent categories and sub-categories, please visit this page in the WordPress Codex.
This template displays three columns of content: a left sidebar, main page content, and a right sidebar. A page using this template displays the “Left Sidebar” and “Page Sidebar”, which both are set under the Appearance > Widgets section in the dashboard. View an example in our demo here.
An image slideshow can be added to the top of a page using the Slideshow page template. See an example here.
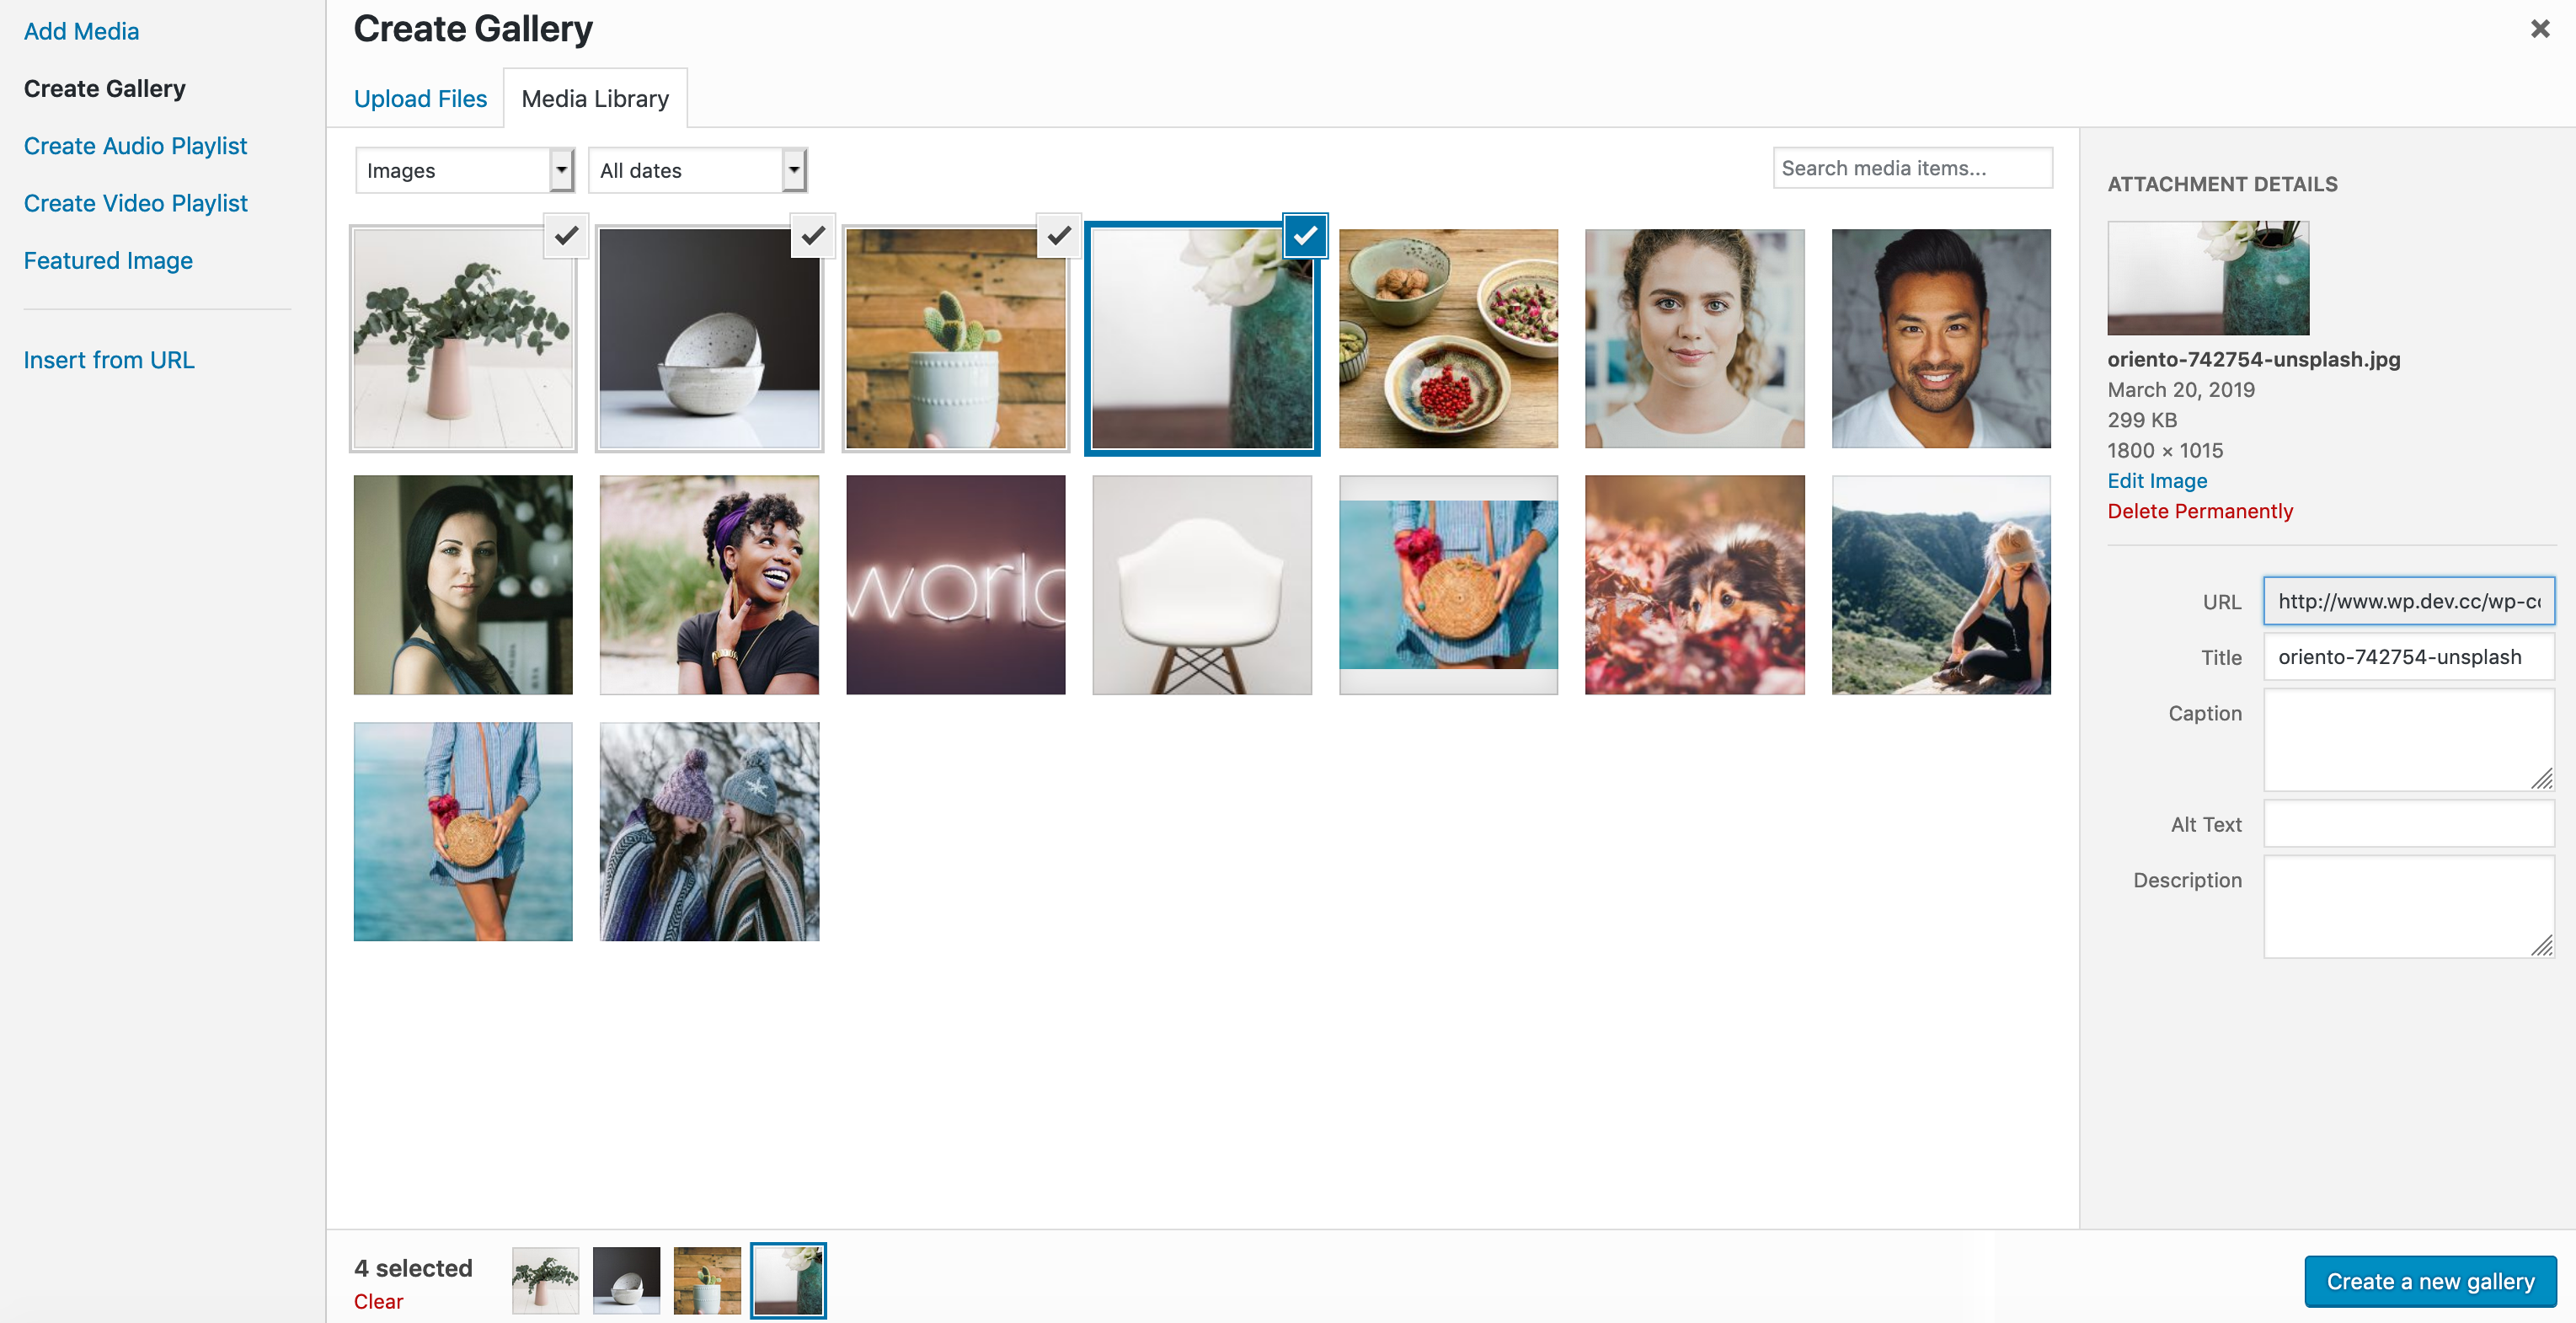
If using the classic editor: Within the page editor, add a gallery by selecting Add Media > Create Gallery. Select your images, then click the blue “Create A New Gallery” button.
If using the Gutenberg editor: You will need to add the slideshow gallery by using the Shortcodes block, and listing the image ID numbers within the shortcode. You can find the image number by selecting “Media” in the dashboard, then clicking on an image. The number displayed within the URL at the top is the image number. The following Codex page explains the Gallery Shortcode in greater detail: https://codex.wordpress.org/Gallery_Shortcode. It should look like this:
